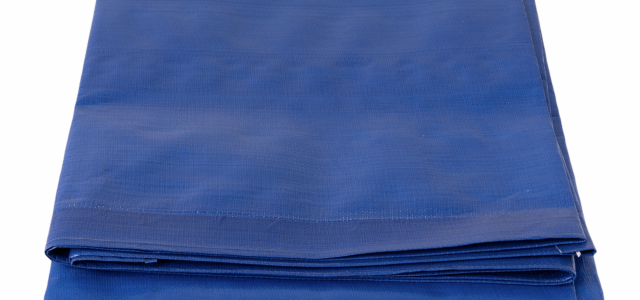
The thought of waterproofing your canvas bags so they can withstand all forms of weather becomes your main focus when you love them and want to use them all year long. Your personal belongings, including your electronics, books, groceries, and other items, are significant to you, and you don’t want to consider what may happen to them if rain damaged them.
Of course, waterproof canvas protection Singapore bags are available to purchase, but if you enjoy DIY projects, you can waterproof them yourself. The situation is not as challenging as one may think. We will examine a few simple methods for waterproofing canvas bags today. Shall we get started?
General Instructions
You can waterproof canvas tote bags and canvas drawstring bags/backpacks using a variety of techniques, but before you start the real process, there are a few things you should be aware of and take care of. The following are the important considerations you need to bear in mind:
Before you start waterproofing the bag, make sure it is clean and clear of debris and strings. You can use a lint roller to remove anything inside and outside. Before starting your DIY project, wash the bag well if it can be washed. If the bag cannot be washed, try your best to vacuum it both inside and out.
Make sure the bag is totally dry before starting the waterproofing process, regardless of the method you use to wash it.
Make sure the waterproofing project is carried out in a well-ventilated area; many advise doing this outside in your yard, or at the very least in your garage or any other part of the house that consistently receives fresh air.
It’s time to get started now that your canvas bag is ready and your project location has been determined!
1. The Wax Approach
Since ancient times, goods have been waterproofed using wax, a natural product. Today, let’s learn how to waterproof canvas bags using a basic item that you can get from practically any retailer.
Materials
Wax is among the simplest materials to use when waterproofing a canvas bag. You’ll need the following things in order to get things moving:
Two pots, a cup of water, a brush, a chunk of wax (you can use 100% organic wax or a mixture of beeswax and paraffin);
a blow dryer.
Process
You can start the procedure of waterproofing canvas once you made sure your bag is clean and dry.
Step 1
Test the wax on an inconspicuous section of the canvas bag as a first step. Testing the wax on the bag’s interior is advised. Remember that a treatment like that could cause the bag’s colour and texture to change.
You can use the wax chunk to rub against the canvas directly, or you can warm up some wax and spread it with the brush over a small portion of the bag.
There is no danger in starting if you don’t mind the canvas being darker following the wax treatment.
Step 2
Place the other pot with the piece of wax within the boiling water in one of the two available pots. Watch the wax melting patiently. You can use a chopstick to stir very gently. Allow the wax to settle for a few minutes. While the wax is still boiling, you shouldn’t use it because it could ruin the fabric.
Step 3
Apply the warm wax to the fabric in a uniform layer with the brush. Make sure to overlap the strokes so the fabric is completely coated in wax. Carefully wax some of the most challenging spots with the brush, such as crevices, seams, rivets, buttons, around leather or other insertions, next to any zippers, and so on.
Remember that the wax may darken the colour on or near these delicate regions, giving the bag a more rugged, worn appearance. Use your hand inside the bag or clothing to remove it from the seams and rivets underneath if you want to minimise this happening.
Step 4
As you would while kneading pizza dough, massage the wax into the fabric with your hands.
Step 5
To further warm the wax, use a hair dryer. This enables the wax to properly coat the fabric and deeply permeate it, making it genuinely water repellent.
You can then apply a second layer of wax and dry it completely with the hair dryer to ensure that it has spread and permeated all creases, seams, zipper locations, button areas, and other such areas. Pay closer attention to the bag’s bottom.
Turn the bag inside out and repeat steps 1 through 5 for the interior as well if you are waterproofing a canvas tote bag or a drawstring backpack. Use less wax but adhere to the same general guidelines. If you don’t want your luggage to get wet from the inside, this makes sense (especially if you use it to carry groceries and products that can spill and stain).
The bag may become a little stiff if wax is applied to both the interior and outer surfaces, but once finished, it will be completely waterproof.
